
Last Updated on June 2, 2024 by Arnav Sharma
Windows system files can sometimes become corrupted, leading to errors, issues with Windows updates, or even preventing Windows from booting altogether. In such scenarios, the built-in DISM command comes to the rescue. This article delves into the intricacies of the DISM command, its restorehealth function, and how to boot from installation media.
What is DISM?
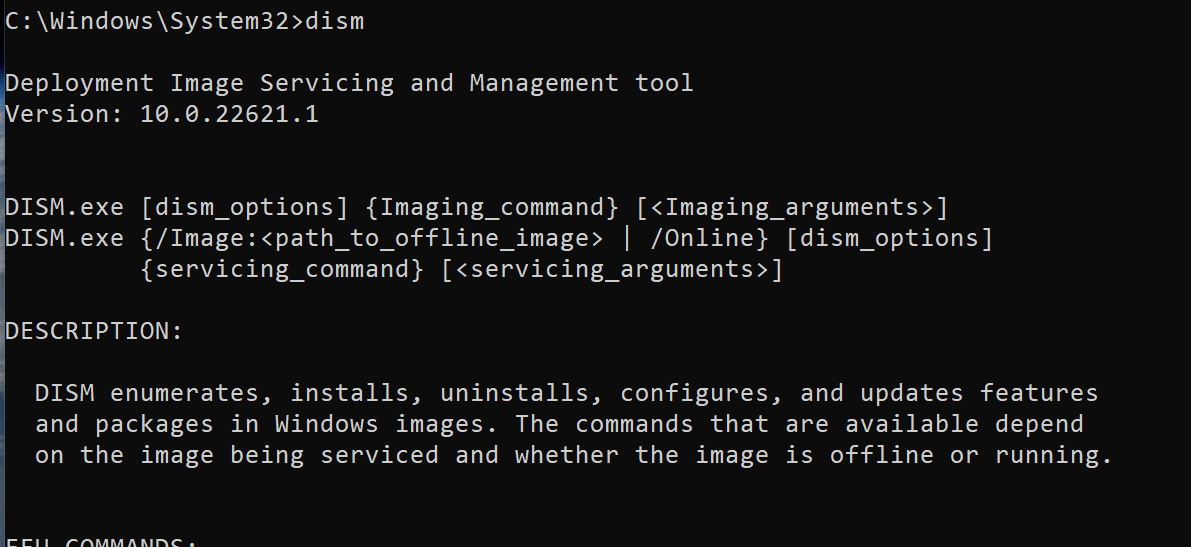
DISM, or Deployment Image Service and Management, is a built-in command-line tool designed for creating Windows system images. However, its primary use in this context is to repair Windows. To utilize this tool, one needs access to the Windows command line interface, which can be accessed via Command Prompt, PowerShell, or Windows Terminal. If Windows fails to boot, a Windows Installation medium, created using an 8GB thumb drive, can be used.
Steps to Repair Windows Using DISM:
Checking for Corrupted Files: Before repairing, it’s essential to identify corrupted files. This can be done using the CheckHealth and ScanHealth commands.
DISM /Online /Cleanup-Image /CheckHealthDISM /Online /Cleanup-Image /ScanHealth
Repairing Windows: If any corruption is detected, the RestoreHealth command can be employed to fix it.
DISM /Online /Cleanup-Image /RestoreHealth
- Rebooting: After the DISM tool completes its repair process, reboot the computer.
Using Installation Media for Repair: If DISM cannot repair using the files on the hard disk, an installation source, like a recovery USB or a mounted Windows ISO file, can be specified.
DISM /Online /Cleanup-Image /RestoreHealth /source:D:SourcesInstall.wim /LimitAccess
Repairing the Current Windows Installation: Even after repairing the Windows image, the actual Windows installation might still be corrupted. The SFC command tool can be used to address this.
sfc /scannow
Freeing Up Disk Space with DISM: Apart from repairs, DISM can also help in freeing up disk space by removing old Windows updates.
Dism /Online /Cleanup-Image /AnalyzeComponentStoreDism /Online /Cleanup-Image /StartComponentCleanupDism /Online /Cleanup-Image /StartComponentCleanup /ResetBase
List of available commands:
| Command | Description |
|---|---|
| DISM /Online /Cleanup-Image /CheckHealth | Performs a quick scan to check the health of the Windows system files. |
| DISM /Online /Cleanup-Image /ScanHealth | Conducts a more advanced system scan, checking the component store and reporting any corruption in the log file. |
| DISM /Online /Cleanup-Image /RestoreHealth | Repairs any detected corruption using the RestoreHealth command. |
| DISM /Online /Cleanup-Image /RestoreHealth /source:D:SourcesInstall.wim /LimitAccess | Repairs Windows using an installation source, such as a recovery USB or a mounted Windows ISO file. |
| sfc /scannow | Repairs the actual Windows installation using the System File Checker tool. |
| Dism /Online /Cleanup-Image /AnalyzeComponentStore | Analyzes the Windows Update component store to see which old update files can be removed. |
| Dism /Online /Cleanup-Image /StartComponentCleanup | Starts the cleanup process manually to remove old update files. |
| Dism /Online /Cleanup-Image /StartComponentCleanup /ResetBase | Reduces the size of the component store even further by removing superseded and unused system files. |
FAQ – Use DISM command to Repair Windows
Q: What is DISM command?
A: DISM stands for Deployment Image Servicing and Management. It is a command-line tool used to manage and repair Windows images, including system files and Windows updates.
Q: How can I run DISM command on Windows?
A: You can run the DISM command in the Command Prompt or Windows PowerShell. Open the Command Prompt or PowerShell as an administrator, then type the DISM command along with the desired parameters.
Q: What can the DISM command be used for?
A: The DISM command can be used for various purposes, such as repairing the Windows installation, fixing system file issues, restoring the Windows image, and managing Windows updates. It is a powerful tool for maintaining and troubleshooting Windows operating systems.
Q: How do I repair a Windows image using DISM?
A: To repair a Windows image using DISM, you need to open the Command Prompt or PowerShell as an administrator and run the following command: DISM /Online /Cleanup-Image /RestoreHealth. This command will scan and repair any issues with the Windows image.
Q: Can I use DISM command to repair Windows 10?
A: Yes, you can use the DISM command to repair Windows 10. The DISM command is compatible with Windows 10 and can be used to repair system files, restore the Windows image, and fix various Windows update issues.
Q: Can I use DISM command to repair Windows 11?
A: Yes, you can also use the DISM command to repair Windows 11. The DISM command works with both Windows 10 and Windows 11, allowing you to repair system files, restore the Windows image, and troubleshoot Windows update problems on both versions of the operating system.
Q: How can I use DISM command to repair the Windows image offline?
A: To repair the Windows image offline, you need to create a Windows Recovery Environment (Windows PE) or use the Windows Setup media. Boot your computer into the Windows PE or insert the Windows Setup media, open the Command Prompt or PowerShell, and run the DISM command with the offline image file path.
Q: What is the DISM RestoreHealth command used for?
A: The DISM RestoreHealth command is used to scan the Windows image for any corruption or issues and restore it to a healthy state. It can be used to repair system files and fix various Windows problems.
Q: Is there a graphical tool to repair Windows images?
A: Yes, there is a graphical tool called DISM GUI (Deployment Image Servicing and Management GUI) that provides a user-friendly interface for managing and repairing Windows images. It allows you to perform various DISM operations using a graphical interface instead of the command-line.
Q: How do I download and replace a corrupt file using DISM?
A: To download and replace a corrupt file using DISM, you can use the following command: DISM /Online /Cleanup-Image /RestoreHealth /Source:WIM:”pathtoinstall.wim”:index /LimitAccess. Replace “pathtoinstall.wim” with the path to the Windows installation media or image file containing the healthy version of the file.
keywords: dism to repair windows 10 image health command in dism restore health command repair the image and windows update service in dism command tool and windows files